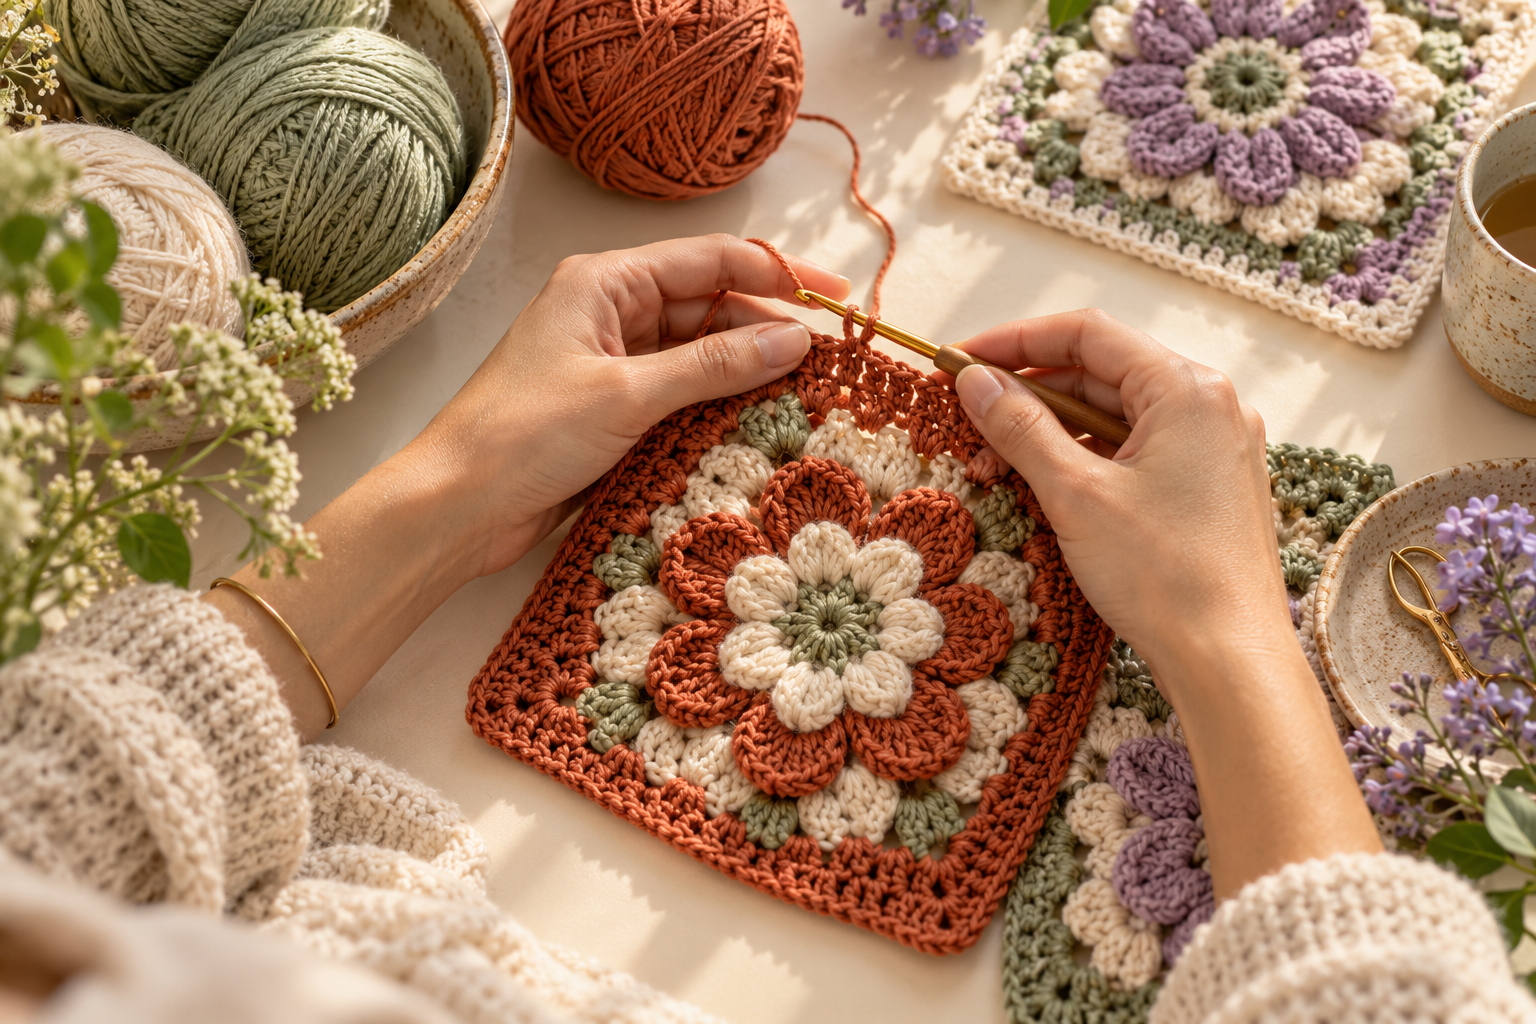
Ask any crocheter what made them almost quit during their very first week, and you will almost certainly hear the same two confessions: a frustrating, gaping hole in the center of their magic ring that refused to close, and hands that ached after twenty minutes from a white-knuckle “death grip” on the hook.
Crochet is not an innate talent reserved for people born with nimble fingers. It is a series of small, mechanical micro-movements. Once you understand the physical geometry of your loop and the ergonomics of your yarn feed, the frustration dissolves — replaced by the serene rhythm of stitches clicking into place.
In this studio guide, we break down the definitive method for a permanent, zero-gap Magic Ring, alongside our proven tension framework that guarantees your stitches turn out buttery-smooth and mathematically even.
1. The Magic Ring Dilemma: Why the “Chain-2” Method Fails
Many vintage craft booklets instruct beginners to start circular amigurumi with the classic shortcut: “Chain 2, work 6 single crochets into the second chain from the hook.”
While easy to teach on paper, this shortcut creates a fundamental structural flaw: an inelastic foundation hole. Because that initial slipknot is locked in place, you cannot cinch the center closed. As soon as you stuff the head of an amigurumi animal with white polyfill, that center hole stretches open, exposing ugly white stuffing right at the top of your sculpture.
The Magic Ring (Adjustable Loop) solves this permanently. By working your first round of single crochets over an unfixed, sliding loop of yarn, you can pull the tail after Round 1 and cinch the center opening completely shut — leaving zero hole, zero daylight, and zero exposed stuffing.
2. The 4-Step Foolproof Magic Ring Method
Follow these four simple physical checkpoints with your non-dominant hand:
- The Palm Drape: Place the yarn tail across your open left palm (right-handed makers), letting about 4 inches hang down toward your wrist. Hold it lightly in place with your pinky and ring finger.
- The Two-Finger ‘X’: Wrap the working yarn upward over your index and middle fingers, then cross the strand diagonally to form an ‘X’ on top of your fingers. Hold the intersection secure with your thumb.
- The Under-Over Catch: Insert your crochet hook (facing downward) under the first (bottom-right) strand of the ‘X’. Catch the second (top-left) strand with the throat of your hook, and pull it under the first strand. Rotate your hook upward — you now have a live loop on your hook.
- The Lock-In Chain: Yarn over with the working strand and pull through that live loop. This completes your locking Chain 1. Gently slide your fingers out: you now have an adjustable circle with a tail.
Atelier Tip: Always work your Round 1 single crochets over both the main circle ring AND the tail yarn simultaneously. When you finish your 6th stitch, pulling that tail will glide like butter, sealing the center into a tight, seamless rosebud.
3. Tension Mastery: Curing the “Death Grip”
Beginner crocheters almost universally hold their yarn and hook with excessive muscle tension. When you strangle the hook, three bad things happen:
- The loops on your hook shrink so tightly that you cannot insert your hook into the next stitch without forceful jabbing.
- Your hands, wrist, and forearm fatigue within 15 minutes.
- Your fabric curls inwards and puckers unpredictably because every stitch is pulled to a different micro-dimension.
The Index Finger Elevation Rule
In authentic craft mechanics, tension is never created by squeezing your fingers tightly together. Tension is created purely by the frictional path of the yarn as it weaves over your fingers.
Weave the working yarn under your pinky, over your ring finger, under your middle finger, and draped over your index finger. Your index finger acts as the “tension antenna”. When you need more slack, lower your index finger slightly. When you need gentle resistance, raise your index finger. Your hand remains relaxed, supple, and fatigue-free for hours of comfortable stitching.
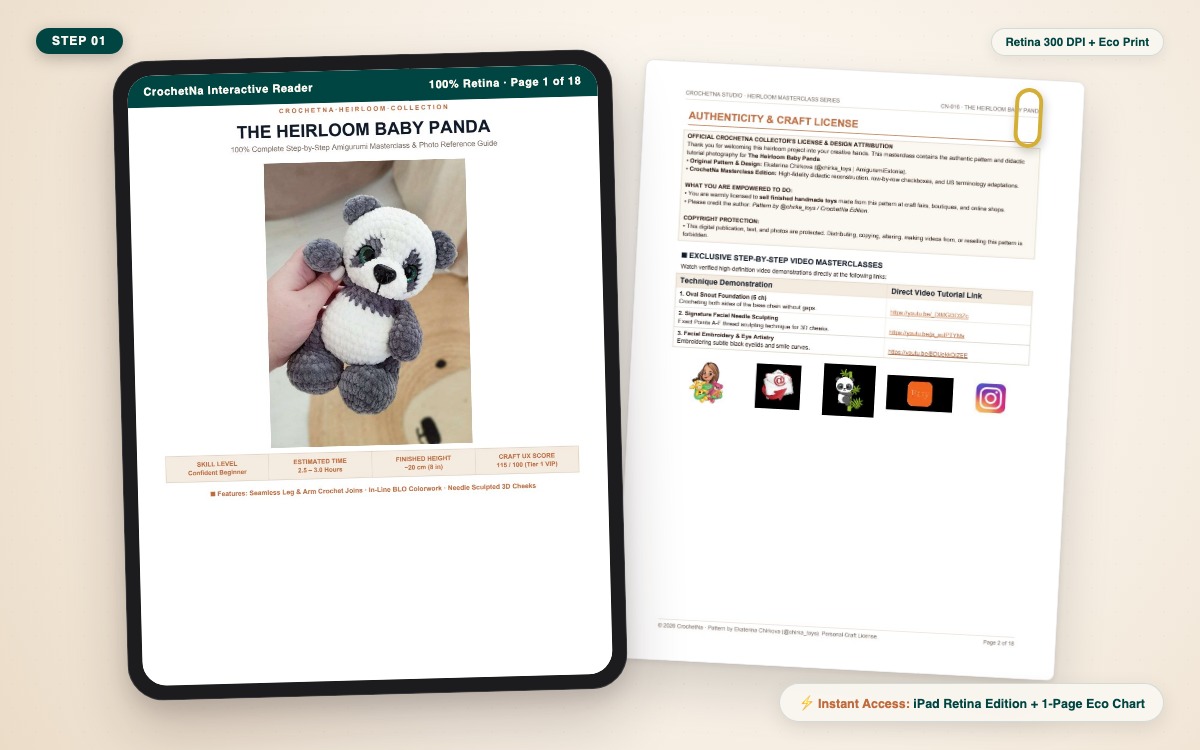
The Heirloom Baby Panda & Bamboo
Put your new magic ring and tension skills into practice with our most celebrated beginner masterclass. Zero confusing abbreviations, continuous row-by-row tracking, and dual HD video angles.
Start The Heirloom Baby Panda Masterclass ($7.99 USD) ➔
Backed by our 60-Day Crafter Happiness Guarantee · Instant 300 DPI iPad Retina Edition.
4. Audited Stitch Counting: Never Lose Your Place Again
The single greatest fear of beginners is: “What if I lose count and have to unravel the whole thing?”
When you look at a row of single crochet stitches from above, each stitch forms a neat, symmetrical “V” shape (composed of a front loop facing you and a back loop away from you). When you insert your hook for a standard single crochet, your hook tip must slide underneath both legs of that “V”.
To eliminate counting anxiety forever:
- The Golden First-Stitch Rule: The very instant you complete stitch #1 of any round, immediately clip a locking plastic stitch marker into both loops of that stitch. Never wait until the end of the round.
- The End-of-Round Checkpoint: When you work around your circle and arrive back at the marked stitch, count your “V” crowns backward. If the pattern specifies 18 stitches, you should have exactly 18 “V”s including the marked loop.
- Audited Row Checkboxes: In all CrochetNa masterclasses, every single round includes an interactive bracket
[ ]and exact mathematical stitch tallies (e.g.,Rnd 4: [2 sc, inc] x 6 (24 sts)). Checking off rows physically or on your iPad gives you 100% confidence before moving to the next tier.
Crochet is a mindful conversation between your eyes, your fingers, and your fiber. Give yourself permission to make a few wobbly loops on day one. By day three, muscle memory takes over — and you will wonder how this beautiful craft ever felt intimidating.
Download The Complete The Heirloom Baby Panda: Free Amigurumi Guide & Video Masterclass Masterclass
Instant digital access to both the Full-Color Deluxe iPad Edition and the Printer-Friendly Pure B&W Eco Ink-Saver.
- 100% Contiguous Row-by-Row: Every single stitch detailed with exact counts.
-
Interactive Checkboxes
[ ]: Track your completed rows effortlessly. - 68+ High-Resolution Step Photos: Crisp close-ups for every single join.
- Dual PDF Bundle: Deluxe 300 DPI Color + Eco Ink-Saver included.